 Wiki
Play free
Area 25
Kalima 6
Kalima 6 is area 25 of 51 in Continent of Legend. It requires level 248, has 7 monster types and the boss Illusion of Kundun.
Lore
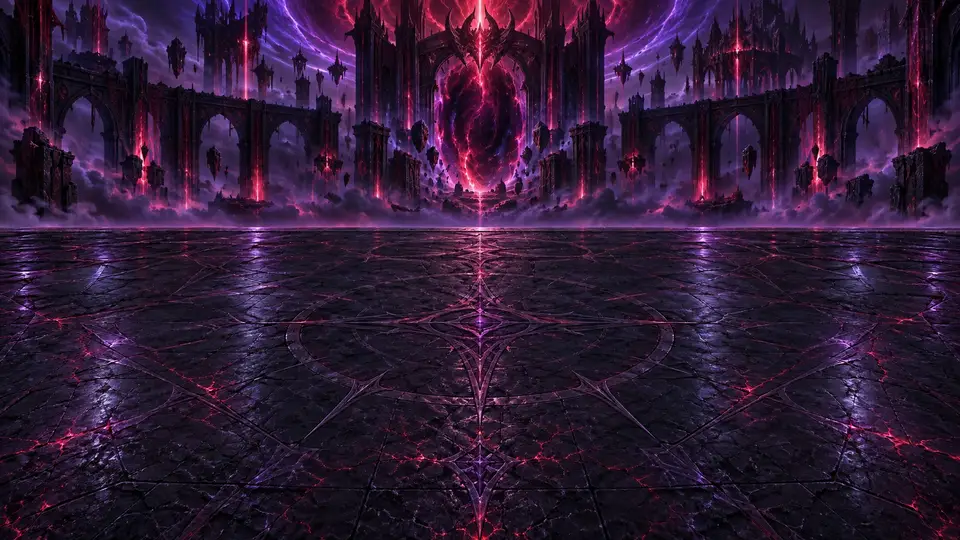
Kalima 6 is the sixth circle of Kalima, the antechamber of Kundun's throne and the darkest place a hero can set foot in and still return from. There is no sky, only a thick darkness in which torches burn small and weak. The stone floor is cold as ice, and in several places you can hear, far below, an enormous, slow breathing.
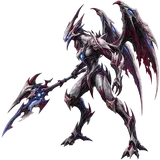
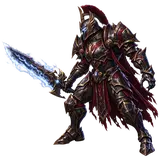
Dread rules here. Kundun gathered in this circle the personal guard that protects the final descent, and each soldier was shaped by the fear of whoever faces it. Dread Aegis, Dread Rogue Centurions and Dread Death Centurions make no sound as they walk, Dread Blood Soldiers and Dread Necrons emerge from the dark, and Dread Schrikers and Dread Death Angels scream only at the very last moment.
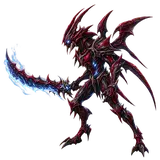
They all fight up close, and the darkness makes every blow seem to come from more than one side. Veterans say the greatest enemy here is the urge to turn back. Before the last gate stands the Illusion of Kundun, more solid than in any other circle, almost the Emperor himself. Its Colossal Impact echoes down to the bottom of the abyss and announces what comes next.
Monsters in Kalima 6
The horde of Kalima 6 comes in waves: the first ones on the list show up in the early stages and the last ones near the boss. The numbers are the reference values, without Reset; with each Reset the monsters get stronger.
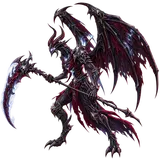
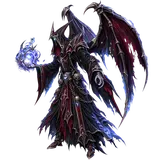
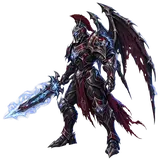
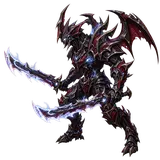
Boss of Kalima 6
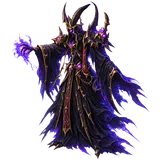
Illusion of Kundun
Tank • HP 27,940 • Damage 378 • Defense 201
Special attack: Colossal Impact, every 4 attacks (170% of damage).
Loot focus: Armor (Advanced).
Best drops in Kalima 6 by class
Monsters drop items up to Legendary; the boss, up to Ancient, and sometimes the next family. Legendary and Ancient items can be for any class.
Warrior
| Piece | Monsters | Boss (sometimes) |
|---|---|---|
| Weapon | Bone Blade | Dark Breaker |
| Helm | Dragon Knight Helm | Stormwing Helm |
| Armor | Dragon Knight Armor | Stormwing Armor |
| Boots | Dragon Knight Boots | Stormwing Boots |
| Pendant | Solid Symbol | Necklace of Agony |
| Ring | Ring of Wind | Ring of Magic |
Mage
| Piece | Monsters | Boss (sometimes) |
|---|---|---|
| Weapon | Spite Staff | Bloodangel Staff |
| Helm | Holyangel Wizard Helm | Soul Wizard Helm |
| Armor | Holyangel Wizard Armor | Soul Wizard Armor |
| Boots | Holyangel Wizard Boots | Soul Wizard Boots |
| Pendant | Solid Symbol | Necklace of Agony |
| Ring | Ring of Wind | Ring of Magic |
Archer
| Piece | Monsters | Boss (sometimes) |
|---|---|---|
| Weapon | Sylph Wind Bow | Angelic Bow |
| Helm | Sticky Helm | Darkangel Elf Helm |
| Armor | Sticky Armor | Darkangel Elf Armor |
| Boots | Sticky Boots | Darkangel Elf Boots |
| Pendant | Solid Symbol | Necklace of Agony |
| Ring | Ring of Wind | Ring of Magic |
Magic Gladiator
| Piece | Monsters | Boss (sometimes) |
|---|---|---|
| Weapon | Awakening Soul Magic Sword | Blue Eye Magic Sword |
| Helm | Soul Magic Helm | Awakening Soul Magic Helm |
| Armor | Soul Magic Armor | Awakening Soul Magic Armor |
| Boots | Soul Magic Boots | Awakening Soul Magic Boots |
| Pendant | Solid Symbol | Necklace of Agony |
| Ring | Ring of Wind | Ring of Magic |
Dark Lord
| Piece | Monsters | Boss (sometimes) |
|---|---|---|
| Weapon | Darkangel Scepter | Holyangel Scepter |
| Helm | Darkangel Lord Helm | Holyangel Lord Helm |
| Armor | Darkangel Lord Armor | Holyangel Lord Armor |
| Boots | Darkangel Lord Boots | Holyangel Lord Boots |
| Pendant | Solid Symbol | Necklace of Agony |
| Ring | Ring of Wind | Ring of Magic |
Summoner
| Piece | Monsters | Boss (sometimes) |
|---|---|---|
| Weapon | Darkangel Glaive | Holyangel Glaive |
| Helm | Soul Summoner Helm | Blue Eye Summoner Helm |
| Armor | Soul Summoner Armor | Blue Eye Summoner Armor |
| Boots | Soul Summoner Boots | Blue Eye Summoner Boots |
| Pendant | Solid Symbol | Necklace of Agony |
| Ring | Ring of Wind | Ring of Magic |
Drop chances in Kalima 6
The chance of each drop per defeated enemy, the same as the in-game Codex (tap the monster and see DROPS). These are the Normal mode chances, without events.
| Drop | Horde monster | Boss |
|---|---|---|
| Equipment | 14% | 100% |
| Blacksmith Scroll | 0.5% (1 in 200) | 2% |
| Jewel of Bless (PT) | 0.27% (1 in 377) | 2% |
| Jewel of Soul (PT) | 0.18% (1 in 565) | 1.4% |
| Jewel of Chaos (PT) | 0.0012% (1 in 85,000) | 0.019% (1 in 5,300) |
| Taming Seal (PT) | 0.18% (1 in 565) | 0.15% (1 in 667) |
| Ascension Core | — | 1.5% |
| Loch's Feather (PT) | — | 0.38% (1 in 265) |
Equipment rarity
When a piece of equipment drops, this is the chance of each rarity:
| Rarity | Horde monster | Boss |
|---|---|---|
| Common | 78% | — |
| Uncommon | 19% | 87% |
| Rare | 3.3% | 12% |
| Epic | 0.2% (1 in 503) | 0.3% (1 in 333) |
| Legendary | 0.001% (1 in 100,000) | 0.008% (1 in 12,000) |
| Ancient | — | 0.001% (1 in 100,000) |
On Hard and Hardcore
| Drop | Hard: horde | Hard: boss | Hardcore: horde | Hardcore: boss |
|---|---|---|---|---|
| Equipment | 14% | 100% | 14% | 100% |
| Blacksmith Scroll | 0.5% (1 in 200) | 2% | 0.5% (1 in 200) | 2% |
| Jewel of Bless (PT) | 0.32% (1 in 313) | 2.5% | 0.3% (1 in 337) | 2.3% |
| Jewel of Soul (PT) | 0.21% (1 in 469) | 1.6% | 0.2% (1 in 506) | 1.5% |
| Jewel of Chaos (PT) | 0.0014% (1 in 70,000) | 0.023% (1 in 4,400) | 0.0013% (1 in 76,000) | 0.021% (1 in 4,700) |
| Taming Seal (PT) | 0.21% (1 in 469) | 0.15% (1 in 667) | 0.2% (1 in 506) | 0.15% (1 in 667) |
| Ascension Core | — | 1.5% | — | 1.5% |
| Loch's Feather (PT) | — | 0.38% (1 in 265) | — | 0.38% (1 in 265) |
| Rarity | Hard: horde | Hard: boss | Hardcore: horde | Hardcore: boss |
|---|---|---|---|---|
| Common | 78% | — | 78% | — |
| Uncommon | 19% | 87% | 19% | 87% |
| Rare | 3.3% | 12% | 3.3% | 12% |
| Epic | 0.3% (1 in 335) | 0.45% (1 in 222) | 0.5% (1 in 201) | 0.75% (1 in 133) |
| Legendary | 0.0015% (1 in 67,000) | 0.012% (1 in 8,300) | 0.0025% (1 in 40,000) | 0.02% (1 in 5,000) |
| Ancient | — | 0.0015% (1 in 67,000) | — | 0.0025% (1 in 40,000) |
On Hard items drop as Nightmare (+40% to flat attributes and +30% to % bonuses); on Hardcore they also drop as Nightmare, and once in a while, very rarely, a Godlike (+80%) comes, delivered by letter.
Special enemies pay more: the Elite drops an item 38% of the time, the Champion 70% and the Ancient Monster 100%; Champion and Ancient Monster raise the item's rarity by 1 level. The jewel chance is 2× on the Elite, 4× on the Champion and 8× on the Ancient Monster. Each Reset also raises the jewel chance a little. See Special enemies (PT).
Kalima 6 on Hard and Hardcore
| Mode | Requirement | Items that drop |
|---|---|---|
| Normal | Level 248 | Normal |
| Hard | Level 248 • 47 Resets | Nightmare (+40% to flat attributes and +30% to % bonuses) |
| Hardcore | Level 248 • 466 Resets | Nightmare; Godlike (+80%) very rare, by letter |
On Hard and Hardcore the monsters have their own strength and the boss has more life. Each boss you defeat opens the next map of the mode and grants a Mark (+0.3% against monsters).
Frequently asked questions
How do stages work?
Each map has 10 stages (the little bars on the area card). You advance by defeating the horde.
On stage 10 the map boss shows up by itself. Beat it with ADVANCE on and you move to the next map.
What are the Hard and Hardcore modes?
On the Map (🗺️ WORLD button) there are 3 cards at the top: NORMAL, HARD and HARDCORE. Tap a locked card to see what you still need to open it.
- HARD: opens at 10 resets. The same 51 maps, stronger, and every item that drops is Nightmare: the same item as in Normal with 30% more base stats (×1.3). If you die, you go back one map (from Hard 1, to Normal).
- HARDCORE: opens when you beat the Hard 51 boss (Hardcore 1 asks for 300 resets). Items drop as Nightmare and, very rarely, a Godlike comes: 70% more base stats (×1.7), delivered by letter. If you die, you go back one map.
- Each boss beaten in a mode opens the next map and gives a Mark (+0.3% against monsters).
- At the BLACKSMITH, Migrate tab, an item's whole + moves to the same Nightmare or Godlike item.
What is "After the boss"?
It's in BATTLE ORDERS, on the BATTLE screen, and decides what happens when the boss falls:
- ADVANCE: go to the next area (the default and recommended).
- REPEAT: redo the same area's route, good for farming.
I can't beat the boss. Now what?
- Spend all unused points (SEE DETAILS › ATTRIBUTES).
- Wear your best INVENTORY items and repair broken ones at the BLACKSMITH.
- Upgrade your skills (SEE DETAILS › SKILLS › UPGRADE).
- Refine your equipment at the BLACKSMITH.
- Lock an earlier stage and hunt for a while to level up.